Water in a phone speaker is a common frustration that can muffle sound, cause distortion, or even short electrical components if ignored. The goal is to remove moisture without pushing it deeper into the device or causing additional damage. The following practical steps focus on safety, patience, and proven drying techniques. While timing can vary, acting calmly and methodically gives you the best chance of restoring clear sound without a costly repair.
First, do this immediately
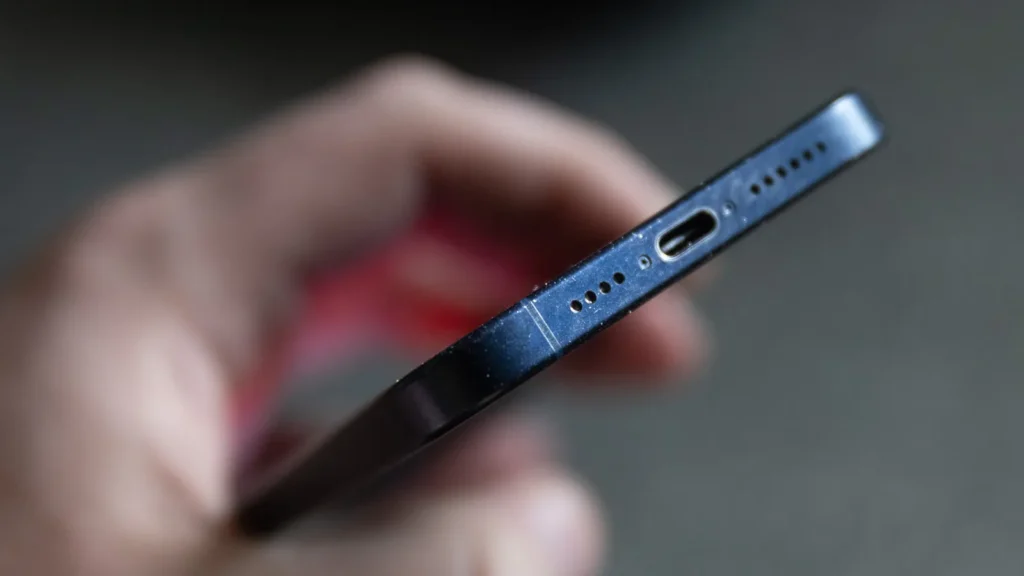
Power down your phone as soon as you notice moisture. If you can, remove any protective case or accessories, then eject the SIM tray if applicable. Do not charge the device or press the power button repeatedly; moisture plus electricity can be a risky combination. A quick inspection for visible droplets around the speaker grille is fine, but avoid poking the speaker with objects that could push water further inside.
Gentle removal and drainage
Hold the phone with the speaker facing downward and gently tap or shake it in knee-height, letting gravity help to dislodge liquid. You can also tilt the device at a slight angle while tracing the edges of the speaker with a dry microfiber cloth. Think of this as a careful rinse-and-blot routine rather than a forceful wipe. If you have an air blower on a cool setting, use short, gentle bursts from a distance to avoid forcing moisture deeper into the phone.
Drying techniques that work
Desiccants are your best friend in this situation. Place the phone in a sealed container with several silica gel packets for 24 to 48 hours. Silica gel is designed to absorb moisture more effectively and more safely than rough grains of rice. If you don’t have silica gel, a tight bag with plain, uncooked rice is a less ideal fallback, but it can still help for light moisture exposure. Keep the device away from direct heat sources such as radiators or hair dryers, which can warp components or alter adhesives.
After the initial drying period, inspect the speaker grille again for any visible moisture or residue. Use a clean, soft brush or a cotton swab to gently lift any particles from the mesh without applying pressure that could push moisture further inward. If your environment is humid, consider repeating the desiccant step for another 12 to 24 hours.
Test and assess
Power the device back on only after you’re confident it’s fully dry. Play audio at a low volume and listen for clear, undistorted sound. If crackling, buzzing, or reduced volume persists, there may be deeper moisture inside the speaker or corrosion on internal components. In this case, it’s wise to consult a professional technician or the manufacturer’s service center. Quick action often prevents longer-term damage, especially if the phone is still under warranty.
Prevention tips for the future
Protecting your phone from water exposure reduces the need for post-incident recovery. Use a waterproof or water-resistant case when engaging in water activities, and avoid placing devices near sinks, pools, or wet environments. Regularly check speaker grilles for dust or lint, which can trap moisture. If you frequently use your phone in damp conditions, consider a dedicated moisture indicator or a protective skin that minimizes moisture intrusion around openings.
For a detailed, step-by-step guide, consult how to get water out of phone speaker.
Want more tech tips? Visit the Magazine Camp homepage.