Replacing a worn or leaky bathroom faucet is a smart, budget-friendly project that many homeowners can handle in a weekend. Not only does a new faucet improve the look of your sink, but it can also save water and reduce dripping noises. If you’re ready to tackle the task, you might be asking How change bathroom faucet—and this guide will walk you through the process from steps to finishing touches.
Assessing the job
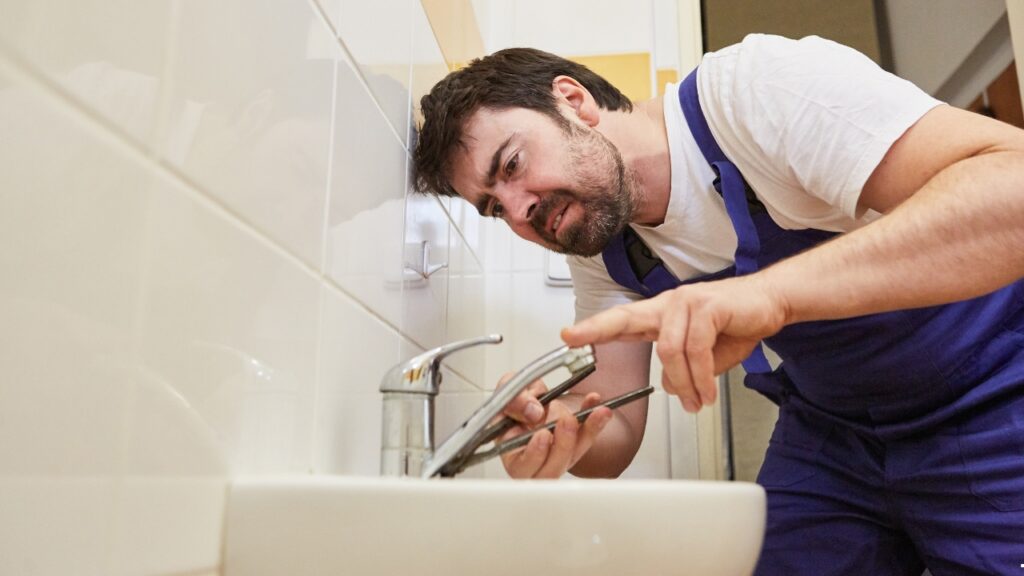
Before you begin, identify the type of faucet you have. Common options include single-handle faucets, double-handle (hot and cold), and widespread faucets. Some older setups use compression valves with rubber washers. Knowing your faucet type helps you choose the right replacement and the mounting hardware that comes with it. If you’re unsure, take a quick measurement of the sink holes and note whether your faucet is mounted with a single opening or multiple holes.
Tools and materials
- New faucet kit (ensure it matches your sink mounting holes)
- Adjustable wrench or basin wrench
- Allen wrench (often included with the faucet)
- Plumber’s tape (Teflon tape)
- Bucket and towels for catching water
- Supply lines (if needed)
- Soap or vinegar for cleaning
- Mineral deposits remover (optional for tough buildup)
Step-by-step installation
1) Turn off the water supply valves under the sink and open the faucet to relieve pressure. Place towels in the sink to catch any residual water.
2) Disconnect the supply lines from the faucet using an adjustable wrench. Have your bucket ready for drips.
3) Remove the mounting nuts or screws that secure the old faucet. Lift it out from above the sink. If you need to, use a basin wrench for tight spaces.
4) Clean the sink hole area and apply a bead of plumber’s putty or the gasket that comes with the new faucet.
5) Install the new faucet from above. From beneath, secure with mounting nuts and tighten with a wrench, being careful not to overtighten.
6) Attach the new supply lines to the faucet shanks and reconnect to the shutoff valves. Use plumber’s tape on threaded connections to prevent leaks.
7) Turn on the water supply and check for leaks. If you see a drip, tighten fittings a touch. Run the faucet for a minute to flush air from the lines.
Troubleshooting leaks and performance
Common leak points include mis-seated cartridges, worn O-rings, or loose supply connections. If leaks persist, turn off the water again and re-tighten connections, or replace the supply lines. For ongoing issues, consult the faucet’s manual or a professional. Remember, a steady stream is a sign to refine the seal, while a few drops might indicate a loose nut.
Maintenance tips
Regularly wipe mineral deposits with a mild vinegar solution, replace worn cartridges promptly, and use a low-flow aerator if your faucet supports it. These small habits can extend the life of your faucet and keep water efficiency high.
For more home improvement guides and step-by-step tutorials, visit HausFixr.
If you’d like a concise version or a printable checklist, consider bookmarking the guide on our site and returning after you finish the project. With the right tools and a little patience, changing a bathroom faucet is a manageable task that yields immediate rewards—a leak-free fixture and improved bathroom aesthetics.